Xenomai on rPi
CM4/rPi4
Project maintained by George117 Hosted on GitHub Pages — Theme by mattgraham
The folowing steps are done on the target(rPi)
1. Add xeno dynamic libraries path to dynamic linker
1.1 Change dir to dynamic linker config folder
cd /etc/ld.so.conf.d
1.2 Create the file xeno.conf
sudo nano xeno.conf
1.3 Add the following two lines and save the file
# xeno dynamic libs path
/usr/xenomai/lib/
1.4 Reboot the rPi
sudo reboot now
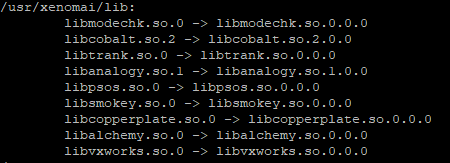
1.5 Run to check if the xeno libs bindings are availabe
sudo ldconfig -v
2. Build an App
2.1 Clone the example app
git clone https://github.com/George117/Xenomai_Hello_World
2.2 Change dir to src folder
cd Xenomai_Hello_World/src
2.3 Run the make command
make
2.4 Run the app
sudo ./hello_world
If everything went fine you should see the famous Hello world print.
2.5 Check if the xenomai bindings work
sudo ./hello_world --version
If everything worked out so far, you should see the xenomai/cobalt version printed.

Note:
Maybe you already saw the the source code for the Hello World is just a printf. The command line option version comes directly from the xenomai libs. Read the below documentation for details.